• Skip to primary navigation
  • Skip to main content
  • Skip to primary sidebar
  • Skip to footer

Her Modern Kitchen

Eating & Living in Austin, Texas

  • About
  • Recipes
  • Austin
  • Lifestyle
  • Baking Bucket List

birthday

Drip Cake Tutorial

May 21, 2019 by Alyssa

With bright colors, fun decorations, and lots of sprinkles, drip cakes create showstopping moments which is why I chose them as my April baking bucket list challenge.

This post is way overdue because drip cakes were my April baking challenge and here we are nearing the end of May.  And, while I did complete this bucket list item in April, I’ve been a bit tied up with work and life to get a blog post up.

Cactus Drip Cake 2

Since April’s my birthday month, I thought it was only appropriate to choose a cake for my April baking challenge and chose to knock out this challenge by making the drip cake as my own birthday cake.  I love drip cakes because they are so over the top. They’re typically made with bright colors, fun topper decor, and lots of sprinkles (my favorite!) making them perfect for a birthday celebration while creating real ‘wow’ moments when others see them.

Birthday_Drip_Cake

What I really enjoyed about this challenge was that a few weeks after completing my own birthday drip cake, my friend Vanessa asked me to make her a 30th birthday cake giving me another opportunity to practice my drip technique — which is now something I believe I’ve truly mastered.

White Chocolate Ganache Drip

What I learned about drip cakes is that the ‘drip’ part is really the simplest and quickest part about the entire decor.  It’s really nothing more than a chocolate ganache that’s been cooled to room temperature then spread over the top and slowly pushed over the edge of the cake.  I then used a piping bag to make additional drips along the edge of the cake.

Birthday Drip Cake Cut

Chocolate cake with mocha filling & vanilla Swiss buttercream

For a drip cake’s chocolate ganache, you can use either white chocolate chips and heavy cream then tint the ganache to a color of your choosing with food coloring (be sure to choose chocolate food coloring or add color-flo to your chocolate before adding gel or you may seize up your chocolate) or you can use colored melting chocolate, like Candy Melts.  The key to the drip though is ensuring it’s cooled to room temperature.  If it’s not properly cooled, the ganache will melt the frosting on the cake and cause your colors to bleed.

Below I share my ganache recipe!

Swiss Meringue Buttercream

This drip cakes challenge also gave me the opportunity to practice my Swiss meringue buttercream recipe.  I love Swiss meringue buttercream because it’s so light and silky smooth.  However, it intimidated me because it involved cooking egg whites and sugar over a double boiler then whipping that into a meringue before finally adding in the butter.

What I learned while making Swiss meringue buttercream is, much like the ganache, the importance of cooling the meringue before adding the butter.  If the whipped meringue is too warm when the butter is added, the butter ends up melting which result in either frosting that’s more like soup or frosting that tastes like straight up butter.

Vanessa_Drip_Cake

The trick I learned here is to chill the bowl of my stand mixer in the fridge which helps quicken the cooling process.  I use a different bowl for the double boiler then transfer the cooked egg whites & sugar into the chilled bowl to whip into a meringue.  Once the meringue forms stiff peaks and the meringue & bowl are both no warmer than room temperature, I begin to add the butter which forms into the deliciously light buttercream.

Below I share my Swiss buttercream recipe! 

Cake Toppers

Since cakes take a ton of work, I chose to keep my cake toppers simple.  For my own birthday cake, I created striped meringue cookies which, like the Swiss buttercream, is cooked egg whites & sugar whipped to stiff peaks.  I then striped a piping bag with gel food coloring and used a 1M frosting tip to make tall swirls.  Later, I colored the remaining meringue and made little dots all of which dried in the oven for 2-hours until set. (Find the meringue cookie recipe here!)

For added height on my cake, I used white candy melts to make thin sheets of chocolate and added colorful sprinkles on top.  Once hardened, I broke the chocolate into pieces to add dimension to the cake.

Drip Cake Top

My friend requested a specific cake for her birthday so I made cactus cookies out of my go-to sugar cookie dough and decorated them with flood frosting, created royal frosting cacti flowers, and added cactus ‘tines’ using food decorating pens.

Overall, I’m so happy I chose drip cakes as my April baking bucket list challenge.  I love the end results and they’re cakes I’m very proud of.  However, after creating two complicated cakes back to back, I’m sure glad my May baking challenge is simple, just classic lemon bars and homemade raspberry sauce.

Vanessa Drip Cake Cut

Vanessa’s drip cake: lemon poppyseed cake with cream cheese filling & vanilla Swiss buttercream

Have you ever made a drip cake? What would you use as cake toppers on top of your drip cake?

Check out the full Baking Bucket List here.

Chocolate Ganache Drip
 
Save Print
Prep time
10 mins
Cook time
30 mins
Total time
40 mins
 
Author: Alyssa
Serves: ½ cup
Ingredients
  • 1 cup white chocolate chips or 1 cup candy melts
  • ⅓ cup heavy cream
Instructions
  1. Place the chocolate into a medium sized bowl and set aside.
  2. In a small saucepan, heat the heavy cream until it just begins to boil with tiny bubbles around the edges.
  3. Pour the heavy cream over the white chocolate and let it sit for 1 minute.
  4. Using a whisk, mix together the chocolate and cream until it's fully blended. Then mix in your coloring.
  5. Let the ganache cool to room temperature for about 15 minutes before creating the drip onto the cake.
  6. Pour a small portion of the ganache onto the top of the cake and using an offset spatula gently smooth it over the top and over the edge.
  7. Put the remaining ganache into a piping bag and cut a small piece off the tip. Use the piping bag to add more drips along the edge of the cake or to elongate drips that have already started.
  8. Place in the fridge to set completely before adding topper decorations.
3.5.3251

Swiss Meringue Buttercream
 
Save Print
Prep time
30 mins
Cook time
10 mins
Total time
40 mins
 
Author: Alyssa
Serves: 6 cups
Ingredients
  • 4 ounces egg whites (fresh, not packaged)
  • 8 ounces granulated sugar
  • 12 ounces unsalted butter, softened to room temperature and cut into 1-2 tablespoon-size pieces
  • a pinch of salt
  • 2 tablespoons vanilla extract
Instructions
  1. Place the bowl of your stand mixer in the fridge to chill for 15-20 minutes while you cook the egg whites & sugar.
  2. In another large bowl, whisk together the egg whites and sugar until foamy.
  3. Create a double boiler on the stove with the large bowl your egg whites are mixed into until the water is just simmering (ensure the water doesn't touch the bowl on top of the double boiler).
  4. Whisk the egg whites and sugar together on top of the double boiler constantly until the mixture reaches 165°F to 180°F -- this is when the egg whites will be cooked and the sugar melted.
  5. Remove the bowl from the double boil and transfer the egg white mixture to the chilled bowl of your stand mixer.
  6. Whip the egg whites in the bowl of your stand mixer on high using the whisk attachment until stiff peaks form, about 10-minutes. Once stiff peaks form, check to ensure both the bowl and egg whites are at room temperature. If they are too warm, you will melt the butter. If still too warm, place in the fridge to cool or use ice packs on the bottom of the bowl to cool the meringue and bowl.
  7. Once the meringue and bowl are cooled, switch to the paddle attachment and begin adding your butter with the mixer on low speed. Do this gradually over 5-7 minutes. If the mixture begins to break, just keep mixing. Once the butter is fully added, increase the mixer speed to high for 2-3 minutes until the frosting is light and fluffy. At this point, you can add the pinch of salt, extract and if desired, food coloring.
Notes
This recipe should yield you enough to frost and fill a 10″ double layer, round cake or about 2½ dozen standard cupcakes. Or fill & frost a 6" 3-layer cake. Or frost the outside of a 4 layer 8" cake.
3.5.3251


Filed Under: Cake & Cupcakes Tagged With: baking bucket list, birthday, buttercream, drip cake, frosting, ganache, sprinkles, swiss buttercream

Celebrating 31 Years with Momofuku Milk Bar Birthday Cake

April 20, 2018 by Alyssa

In celebration of feeling young and not put together, I made myself the ultimate birthday cake, the Momofoku Milk Bar Birthday Cake. It just SCREAMS happy birthday, probably because it’s loaded with sprinkles and I loved the idea of making my own birthday cake to share with others.

Milk Bar Birthday Cake Holding

Today’s my birthday. The big 31. Is that big? I honestly don’t feel that much different than when I was 25, or 18 as a matter of fact. Maybe my life is a little bit more together but in reality, I still kind of feel like a kid who’s trying to figure it all out.

Milk Bar Birthday Cake Close-Up

Do you remember when you were a freshman in high school and you passed a senior in the hallway, and you were like ‘OMG, they’re so old and mature…and cool?!’ (No, just me? ) Well, all my life I’ve felt like I’d hit a certain age and be like NOW I’m an adult, I’ve made! I. Am. Mature.

Milk Bar Birthday Cake Portrait

But in reality, I AM an adult but I still feel like a kid. I’m still trying to figure everything out, learning, growing, exploring….

I think that’s a good thing though, right?

Milk Bar Birthday Cake Portrait 2

Thinking about it, I never want to get to the point in my life where it feels like ‘Now I know everything! I have nothing left to learn.’

I think that’s what’s awesome about growing up — I’m old(er) but still feel young and curious. And I’m totally okay that my life is ‘together’ but definitely NOT together all at the same time.

In celebration of feeling young and not put together, I made myself the ultimate birthday cake which in my mind, is the Momofoku Milk Bar Birthday Cake. I’ve never had this cake but to me, it just SCREAMS happy birthday, probably because it’s loaded with sprinkles. And I realllllyyy love sprinkles.

I found the original Milk Bar Birthday Cake recipe online and made it exactly as written.  The Milk Bar Birthday Cake has 4 key elements

Funfetti Cake, and not just any Funfetti Cake. It’s seriously the BEST funfetti cake you’ll ever taste so don’t even think about subbing a box mix here. Nothing beats homemade, from scratch cake.

Milk Bar Birthday Cake Stacked

Vanilla Birthday Cake Milk soak, or as I lovingly refer to, cereal milk.  Really it’s just milk & vanilla extract mixed together but it’s still delicious and it’s key to creating a moist cake.

Vanilla Birthday Cake frosting that’s decadently creamy with a hint of tang from cream cheese.

Milk Bar Birthday Cake Frosted

The Birthday Cake Cookie Crumb which tastes like crunchy cookie bits with a sweet, vanilla buttery taste, and sprinkles, obviously.

Milk Bar Birthday Cake Cookie Crumbs

Once you layer all of these sweet birthday cake flavored creations together, you freeze the Milk Bar Birthday Cake for at least 12 hours. I’m pretty sure this is done to help the vanilla-y, sugary, sprinkle flavors marinate (because cakes need to marinate, right?) and everything becomes ridiculously intense.

Milk Bar Birthday Cake Ready for freezer

After that, it’s time to celebrate! Sing! Slice! Eat!

Milk Bar Birthday Cake Portrait 2

I’m pretty sure I’m going have to make the Milk Bar Birthday Cake part of my regular birthday celebrations until forever. Or at least until I’m too old to do the dishes. 

Milk Bar Birthday Cake Holding

Have you ever tried the Milk Bar Birthday Cake? How do you celebrate your birthday?

Filed Under: Cake & Cupcakes Tagged With: birthday, birthday cake, milk bar, Momofuku, sprinkles

Dining at Uchi

May 20, 2013 by Alyssa

Uchi – Austin, TX

If you’re not from Austin, then you probably don’t understand the meaning of dining at Uchi so let me bring you up to speed with a few quick facts

  • Uchi is a contemporary Japanese sushi restaurant
  • The name translates to “house” in English
  • The menu consists of hot and cool tastings, sushi and sashimi. makimono, yakimono and tempura, and a changing omakase based on seasonal selections
  • Uchi has a limited number of reservations per evening and the majority of its patrons are more than willing to wait 90 – 120 minutes to be seated
  • Uchi’s owner & chef is Tyson Cole, whom won the 2011 James Beard Award for Best Chef, Southwest
  • Chef Cole competed against Morimoto on Iron Chef America: Contemporary Japanese and although he lost, the score was close (49-43)
  • Named one of Bon Apetit’s Top 10 Sushi Restaurants
  • Featured on Zagat Guide’s Best Food in Austin
  • GQ declared Uchi one of 2010’s Top New Restaurants in America
  • Uchi has a sister restaurant, Uchiko, meaning “child of Uchi.”  Uchiko has also won a number of awards and is considered a more casual Japanese kitchen compared to Uchi.

Now that you understand how renowned of a restaurant Uchi is considered, let me share my experience with you…..

Uchi was one of the best dining experiences I’ve ever enjoyed.  Each dish is delicious, but the food as a whole, is not the type of food that is crave-able.  For instance, I don’t believe I’ll ever eat at Uchi then 3 weeks later “crave” a specific dish and be compelled to instantly return.  I believe this is because their food is truly unique.

Image

Uchi Sushi Preparation

Image

Uchi

The food is presented in such a well displayed manner that it’s beautiful to simply look at.  The presentation forces diners to pause and enjoy the site before carefully consuming the food in front of them.  Each dish is perfectly balanced in flavors – acidity, sweetness, saltiness, and textures play an equal part in developing the flavors as a whole.

The consideration of each element that goes into a specific dish is complimented by the restaurant’s attentive and knowledgeable staff. Each waiter, waitress, sushi chef, and hostess we encountered knew the menu inside and out, was able to recommend wine pairings, and simplified the menu for our understanding   This ability to eloquently explain the menu without making a patron feel unintelligent is a feat that not all restaurant staff can accomplish.

Image

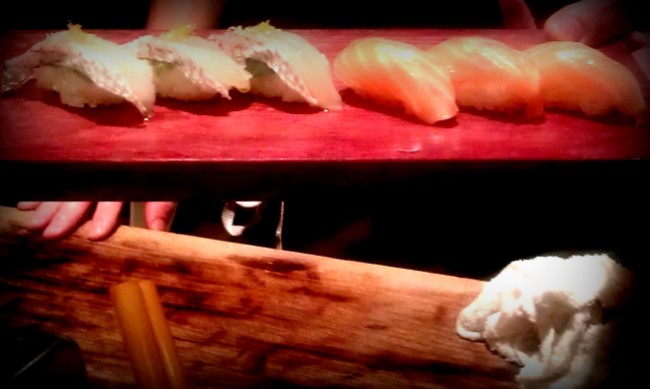
Mackarel & Salmon Sushi

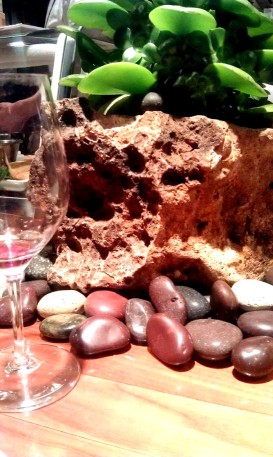
As for the atmosphere, Uchi is naturally beautiful.  Playing up the contemporary Japaenese style – taking advantage of rocks, aged wood, water pools, and a flourish of greenery.  Even with a 2 hour wait the experience was somehow calming, relaxing, and enjoyable.

Image

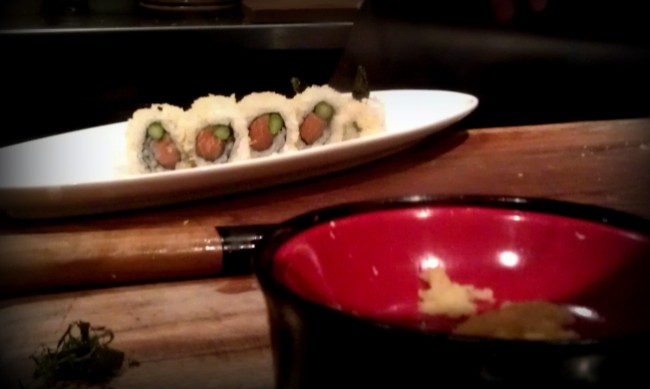
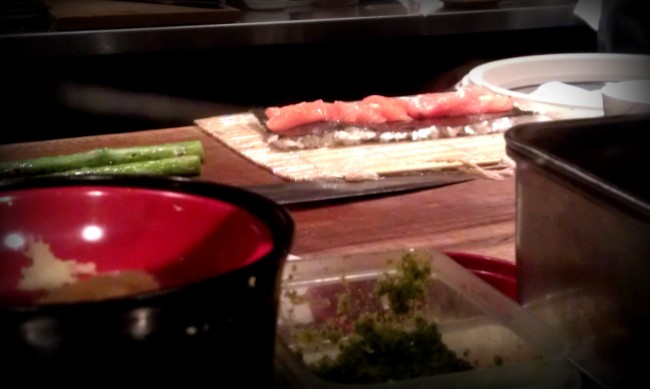
Salmon Asparagus Roll

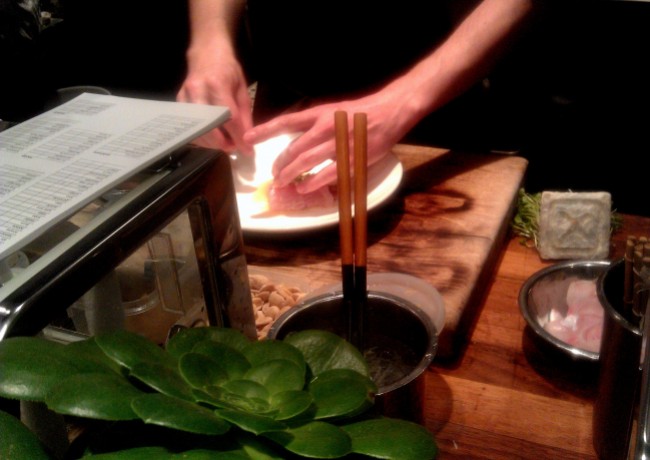
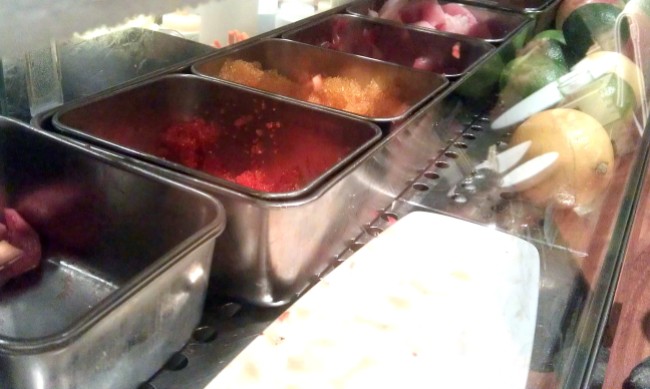
As for our meal, we were able to enjoy it while sitting at the sushi bar.  While some may believe that to be not as an intimate dining experience, I was ecstatic!   I love watching sushi chefs at work, looking at all the exotic, color ingredients, and speaking with the person preparing my food to learn more about the ingredients, technique, and the specialties of the menu.

Image

Prepping a Salmon Roll

Image

Display of Tobiko

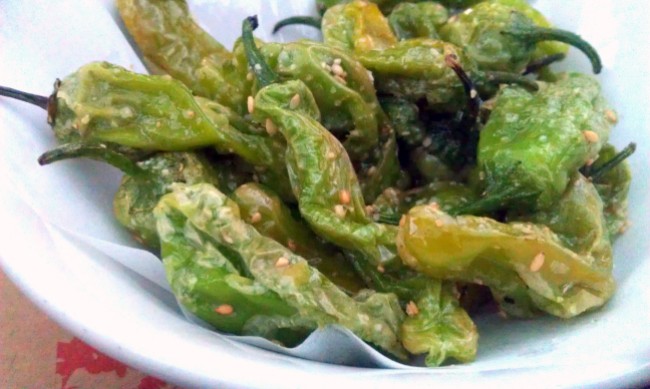
M<3 and I started our evening off on the outdoor patio with a few glasses of wine and some grilled shishito peppers (one of his favorites at any restaurant!).

Image

Uchi, April 2013

The peppers were perfectly cooked, not overly spicy, and simply salted.

Image

Shishito Peppers

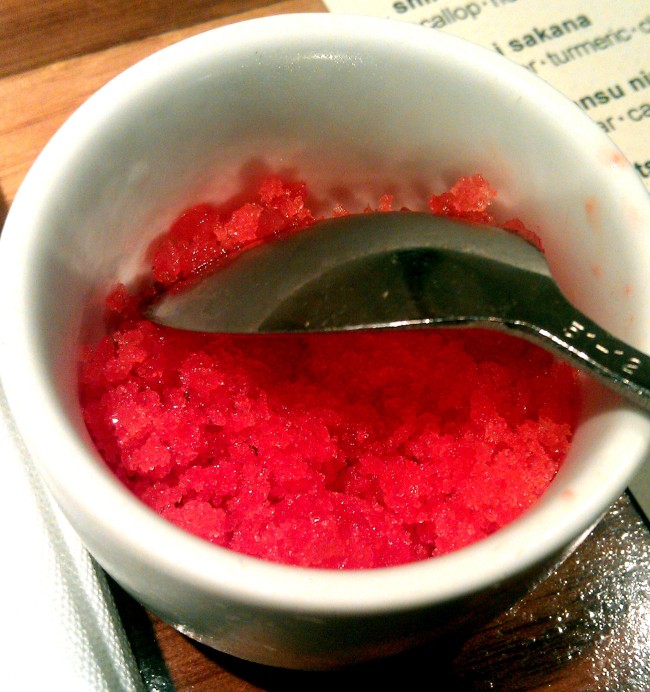
We were also treated to a few passed appetizers that are served to guests whom are waiting to be seated – we were able to taste spicy, apple slices. Who knew a well-picked apple and a salty-spicy rub could enhance the flavor of an apple so much.  We were also treated to some grilled cauliflower that I had been eyeing on the menu!Once we were seated, we were greeted with a watermelon granita, a palate cleanser.  Slightly sweet and refreshing!

Image

Watermelon Granita

Image

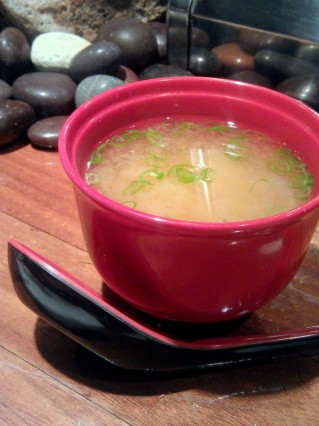
Miso Soup

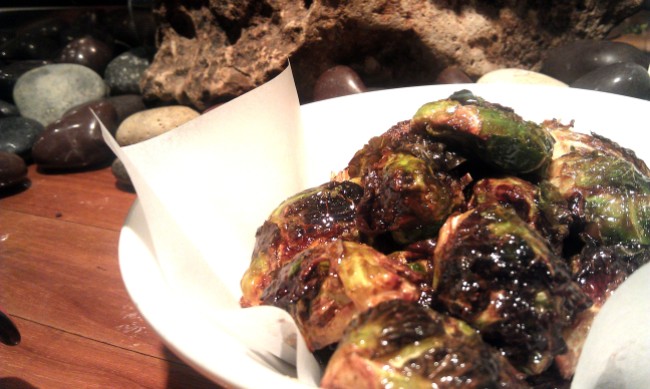
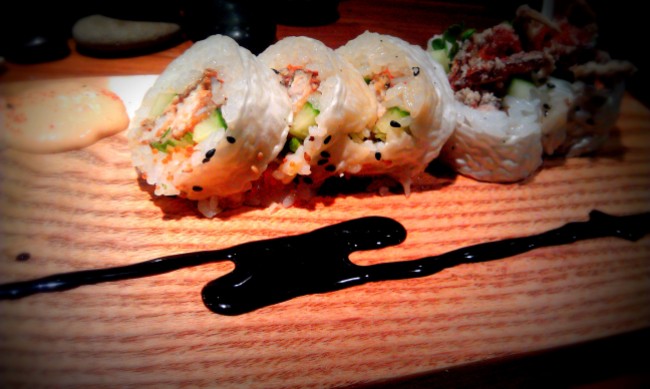
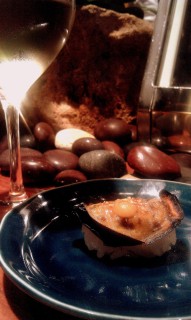
Once we had time to review the menu and ask some questions to the chef and waitress, M<3 and I decided on a few dishes to split – miso soup, sweet-chili glazed brussel sprouts, a spider roll, and nasu (Japanese eggplant) sushi.

The soup was delicious & simple, just as miso soup should be.

Image

Brussel Sprouts

M<3 is not a huge fan of vegetables but we both loved these brussel sprouts – so much so that I was intrigued enough to find a similar recipe online the following week. Again, this isn’t a crave-able food but just truly unique, delicious, and the perfect accompaniment to any Asian meal.

Image

Spider Roll

Image

Nasu (Japanese Eggplant) Sushi

The Spider rolll is M<3’s go-to sushi roll.  It’s a cooked roll with fried shrimp (or crab, at times – Uchi served their’s with shrimp), a spicy mayo sauce, and cucumber.  Uchi’s roll also had an eel sauce on the side, a sweet-salty mixture that made the Spider Roll mouthwatering!  The shrimp was cooked to perfection (I loved the crunch!) and the spicy mayo was careful to not overpower the other, lighter flavors in the roll.  I would definitely recommend this roll for non-sushi eaters!

I love eggplant, it’s one of my favorite vegetables and I had never experience it as nigiri.  This was slighty sweet, the skin added a bit of chewiness and the eggplant is self was melt-in-your-mouth soft.  It was a simple transition into heartier dishes.

Image

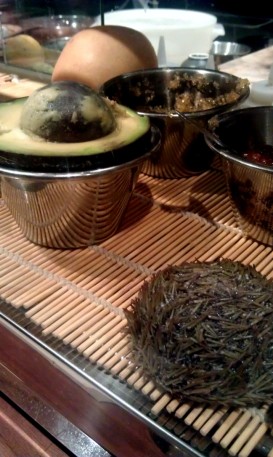
Fresh Sea Urchin at the Sushi Bar

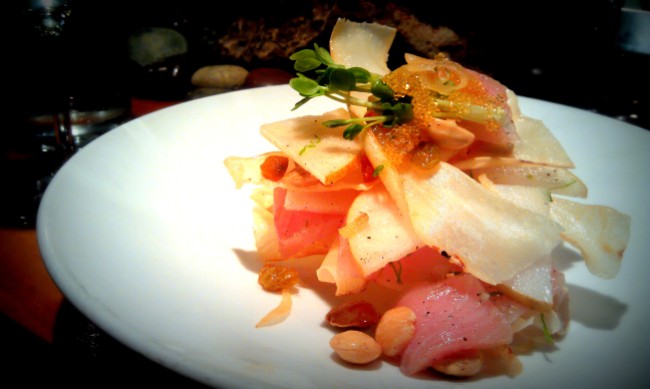
After our shared dishes, we each chose something a bit more exclusive to our individual tastes – I sampled, the chef recommended, machi cure  (aka: “sushi nachos” which is how the chef described them to me).  It was simple and fresh with lightly fried yuca, marcona almonds, asian pear, smoked yellowtail tuna, garlic brittle and tobiko.

Image

Machi Cure – Sushi Nachos

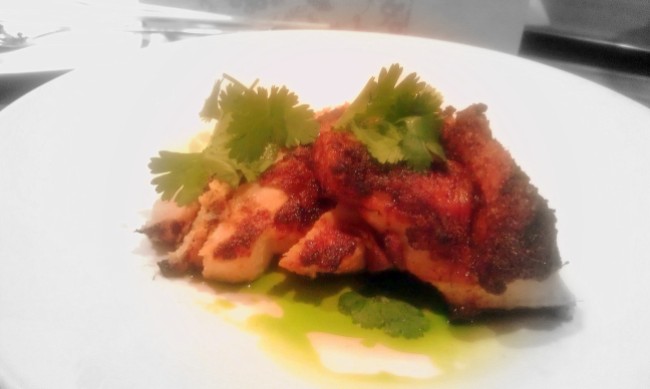
Mayank chose to try the sasami yaki, an oak-grilled chicken breast with lemongrass and cilantro. He said it was one of the most moist and flavorful pieces of chicken he had ever tasted.

Image

Sasami Yaki – Lemongrass Chicken

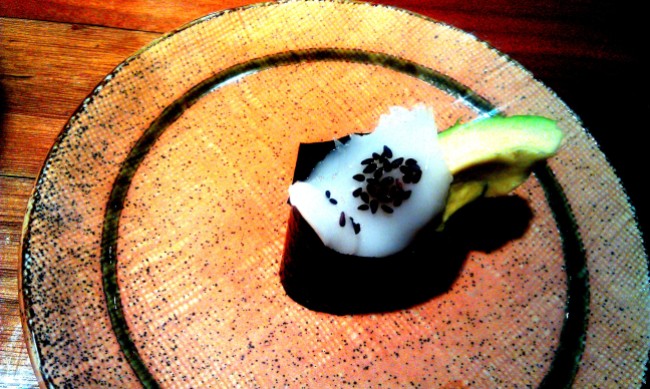
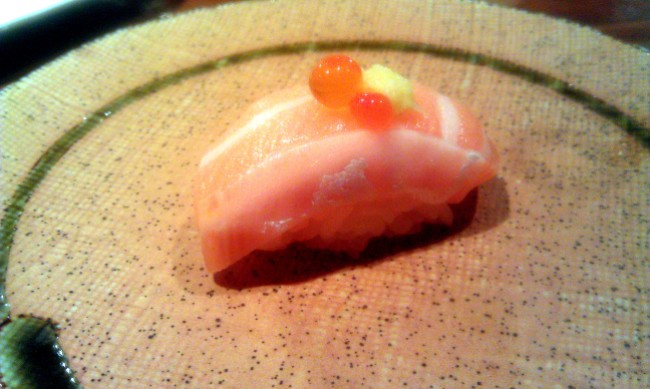
Since Uchi is known for their sushi, I had to try a couple of pieces on my own!  I chose the hotate (spicy scallop & avocado) and sake (simple, salmon and rice).

Image

Hotate – Spicy Scallop

Image

Sake – Salmon

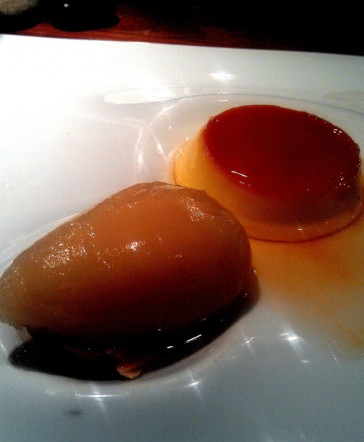
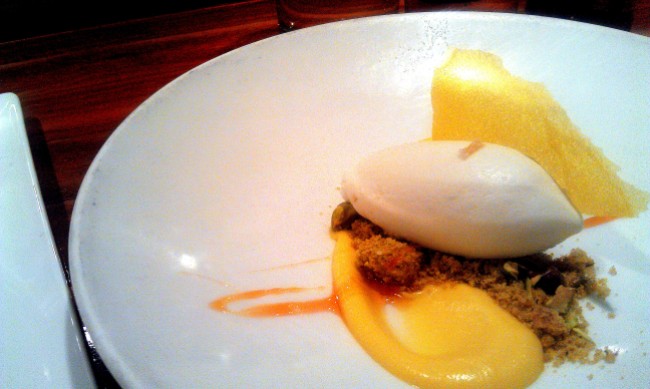
Finally, we ended our even with a double dessert treat from the chef.  We were able to share the coffee panna cotta with white chocolate sorbet & mango and the lemon gelato with pistachios and white balsamic.  I  never thought I would enjoy white balsamic in a dessert but the lemon gelato was the dessert I kept going back for!

Image

Coffee Panna Cotta

Image

Lemon Gelato

I’m truly thankful to <3M for such a wonderful birthday dinner.  We both agreed that Uchi is a restaurant that we both want to visit again – though it’s definitely a special occasion type dining experience. And in the future, we’ll remember to plan well in advance to ensure reservations.

Image

April 20, 2013

Filed Under: Austin, Restaurants Tagged With: austin, birthday, sushi, Uchi

Primary Sidebar

Welcome!

Hi, I’m Alyssa! I’m a foodie with a sweet tooth and an obsessed dog-mom! On the blog you’ll find a little bit of everything – it’s heavy on dessert, wine, and life in Austin, Texas with a sprinkling of lifestyle.

Let’s Connect!

  • Email
  • Facebook
  • Instagram
  • Pinterest
  • Twitter

What Readers Are Loving

Slow Cooker Indian Chicken Curry: The Only Curry Recipe You'll Ever Need
Best Ever Bakery-Style Oatmeal Raisin Cookies
Dilly Bars -- Chocolate Peanut Butter Rice Krispie Treats
No-Bake Cake Batter Cake Balls
Lemongrass Coconut Chicken Curry
Street-Cart Style Falafel and Rice Bowls
memorialday80

Follow Me on Pinterest!

Category Search

Footer

  • Email
  • Facebook
  • Instagram
  • Pinterest
  • Twitter

Copyright © 2025 · Foodie Pro Theme by Shay Bocks · Built on the Genesis Framework · Powered by WordPress


Loading Comments...